If you’re a fan of the Netflix hit The Home Edit, you know the glee and gratification that comes with decluttering and getting organized.
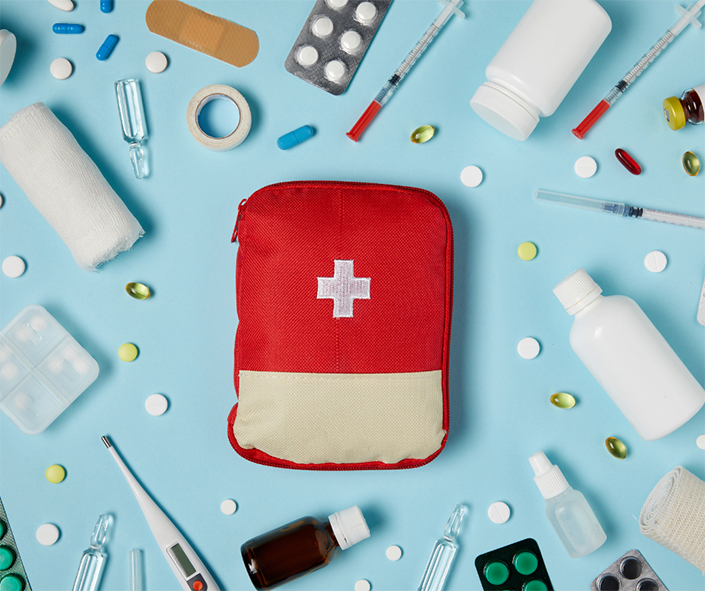
Just like your closets, kitchen and junk drawers, your home medicine cabinet may also need some first aid to ensure you have everything you need, especially as we head into cold and flu season.
Whether you keep your essentials in a cabinet, drawer, box or bin, these five steps will help you get organized and be prepared when illness or injuries happen at home.
Step 1: Remove it all
The first step is to clear out your medicine cabinet (or designated spot) and place items on the floor or countertop.
Yes, you may be overwhelmed by the volume of stuff, but it’s the best way to see what you have, what you need to keep and what needs to get tossed. It’s also a great opportunity to thoroughly wipe down shelves.
Step 2. Group and toss
Categorize your items into groups (first aid, personal care, medications, dental, etc.). Once groupings are complete, go through each one and ask yourself, “Do I need this, do I use this or will I ever want to use this?”
(Don’t be too hard on yourself if you find multiple tubes of Bacitracin or items that predate your firstborn.)
- Tackle medications first. Remove any expired or unwanted items, then take time to properly dispose of them.
Check instructions on the drug label or patient information insert, contact your pharmacy or city/county trash and recycling services, or check online for local medicine drop-off sites.
- Never just toss medication. If thrown out, kids or animals could find and ingest the medicine. And meds flushed down the toilet or poured down the sink could end up in the water system.
- Take oversized, bulky and travel items out of the mix, and find space for them under a sink or in a drawer.
- Check digital thermometer batteries and replace, if needed.
- Throw away old toothbrushes or non-medication items you no longer need, use or plan to use.
Step 3: Add what you need
Once you’ve pared things down, take stock to determine what you need to add, here are some essentials you should have on hand.
- Adhesive bandages
- Allergy medication
- Antacids
- Antibacterial cream
- Antidiarrheal medication
- Anti-itch cream
- Cold/flu medicine
- Cough medicine/drops
- Digital thermometer
- Nasal spray (and nasal aspirator if you have an infant)
- Over-the-counter pain relievers and fever reducers (acetaminophen, ibuprofen)
- Sunscreen
- Tweezers
- Vaseline/lip balm
Pro tip: While hydrogen peroxide is typically a medicine cabinet must-have for cleaning and disinfecting, many physicians and dermatologists discourage using it. Hydrogen peroxide can destroy healthy cells, slowing the healing process and worsening scarring. Instead, opt for mild soap and water to clean scraped knees and nicked fingers.
Step 4: Rebuild from the bottom up
Use the categories you created to design a system that makes your life easier and allows you to find things quickly when you need them.
- Use the first shelf for things you use every day (toothbrush, toothpaste, cotton swabs/balls, contact lens solutions, etc.).
- Dedicate the second shelf to first aid supplies, such as gauze, bandages and antibiotic ointment.
- Customize the rest of the cabinet to your liking (cold/flu, pain/allergy, tummy remedies, etc.), reserving upper shelves for lesser-used items or things you want to keep away from the kiddos.
- Give child-specific medications and supplies their own spot.
Pro tip: Keep prescriptions out of the family medicine cabinet and in safe place out of reach and sight of children, such as a locked drawer or cabinet in the bedroom, or in a storage box on a high closet shelf. Heat and humidity can also have an adverse effect on medications, so a steamy bathroom probably isn’t the best place for them.
Step 5: Contain to cut clutter
There’s no disputing Khloé Kardashian’s color-coordinated and custom-labeled pantry is pretty awesome, but you don’t need an elaborate Home Edit solution to make your medicine cabinet functional and tidy. To separate items, use clear plastic cups for vertical items, repurpose other containers you already have around the house or shop dollar stores for containers.
Pro tip: Use a magnetic strip to hold tweezers, nail clippers and small scissors, and to post a list of items that need to be replenished or reminders to take medicine.
When your de-cluttering is complete, you’ll not only have an organized medicine cabinet that’s pleasing to the senses, you’ll also have the security of knowing everything will be at your fingertips when you need it.
Now, about that junk drawer.


